

안녕하세요~ 차니에요!
오늘은 Cocoapods에 라이브러리 배포 방법에 대해 알아보겠습니다.
* 본 게시물은 코코아팟 공식 홈페이지에 영문 가이드를 참고하여 제작하였습니다.
cocoapods 란?
- Swift 및 Objective-C 프로젝트 종속성 관리자이며 iOS 앱 개발 시 오픈 라이브러리를 손쉽게 사용할 수 있도록 하는 방법입니다.
1. Pod Library 생성하기
pod lib create [pod name]
To get you started we need to ask a few questions, this should only take a minute.

If this is your first time we recommend running through with the guide:
 - https://guides.cocoapods.org/making/using-pod-lib-create.html
 ( hold cmd and click links to open in a browser. )


What platform do you want to use?? [ iOS / macOS ]
 > iOS

What language do you want to use?? [ Swift / ObjC ]
 > Swift

Would you like to include a demo application with your library? [ Yes / No ]
 > Yes

Which testing frameworks will you use? [ Quick / None ]
 > None

Would you like to do view based testing? [ Yes / No ]
 > No

Running pod install on your new library.

Analyzing dependencies
Downloading dependencies
Installing YCTest (0.1.0)
Generating Pods project
Integrating client project

[!] Please close any current Xcode sessions and use `YCTest.xcworkspace` for this project from now on.
Pod installation complete! There is 1 dependency from the Podfile and 1 total pod installed.

 Ace! you're ready to go!
 We will start you off by opening your project in Xcode
  open 'YCTest/Example/YCTest.xcworkspace'

To learn more about the template see `https://github.com/CocoaPods/pod-template.git`.
To learn more about creating a new pod, see `https://guides.cocoapods.org/making/making-a-cocoapod`.
podspec 파일은 라이브러리에 대한 정보를 담고 있습니다.
2. 라이브러리 기능 명세
2-1. 기능 작성
Pods/Devlopment Pods [pod name]/ReplaceMe.swift 파일을 수정하였습니다.
import Foundation

open class Aclass: NSObject {
	public func log(_ msg: String) {
		print("I'm From Aclass -- \(msg)")
	}
}
2-2. 테스트 코드 작성
[pod name]/Example for [pod name]/ViewController로 이동하여 테스트 코드를 작성합니다.

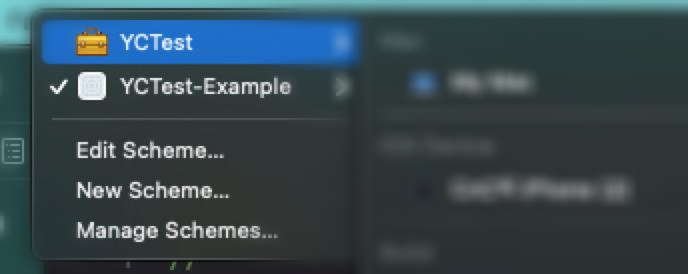
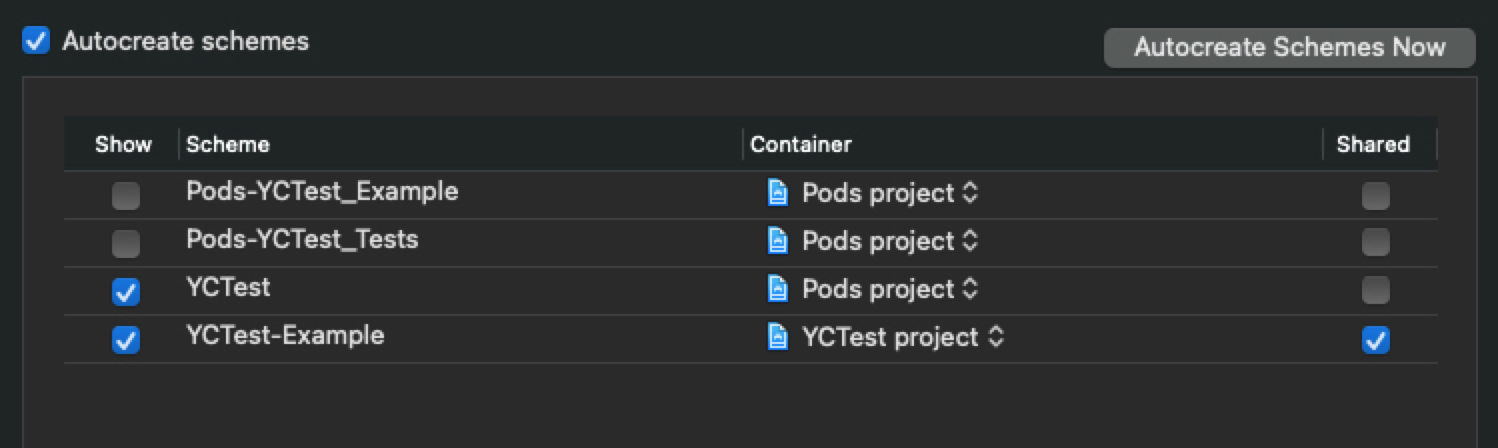
2번에서 Show 설정한 라이브러리 선택 후 CMD+B(Build) 진행하면 아래와 같이 import가 가능해집니다.

모듈 import가 완료되었다면 테스트 코드를 작성합니다.


3. GitHub에 소스 업로드
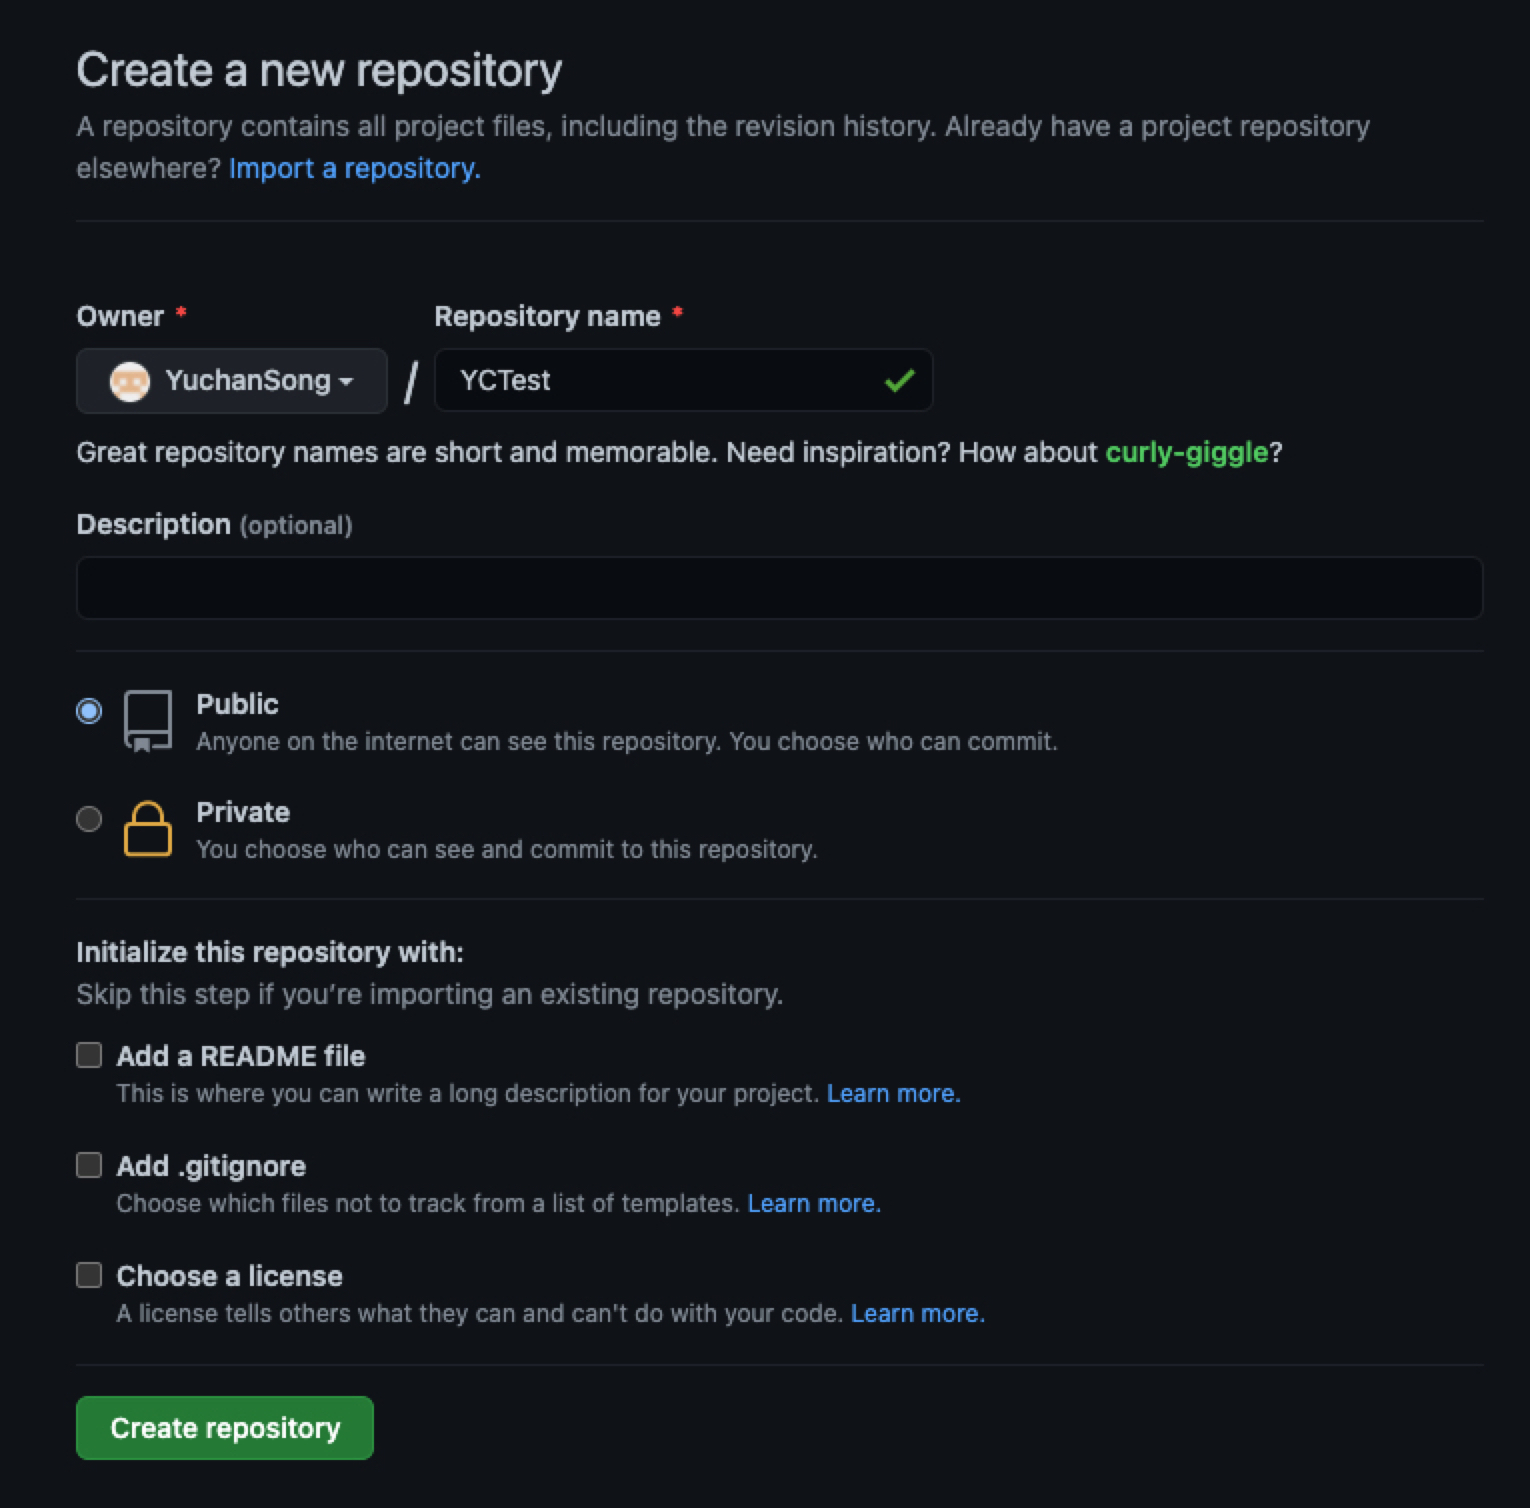
터미널에서 라이브러리 경로로 이동 후 아래 명령어를 통해 GitHub에 업로드해주도록 합시다.
git remote add origin [YOUR_REPO_URL]
git push -u origin master
Enumerating objects: 34, done.
Counting objects: 100% (34/34), done.
Delta compression using up to 4 threads
Compressing objects: 100% (27/27), done.
Writing objects: 100% (34/34), 13.51 KiB | 2.25 MiB/s, done.
Total 34 (delta 1), reused 0 (delta 0)
remote: Resolving deltas: 100% (1/1), done.
To https://github.com/YuchanSong/YCTest
 * [new branch]      master -> master
Branch 'master' set up to track remote branch 'master' from 'origin'.
4. pod lint 실행하기
라이브러리 기능 작성이 완료되었습니다. 배포 전 podspec 파일을 검사해야합니다.
pod lib lint
 -> YCTest (0.1.0)
    - WARN  | summary: The summary is not meaningful.
    - WARN  | [iOS] swift: The validator used Swift `4.0` by default because no Swift version was specified. To specify a Swift version during validation, add the `swift_versions` attribute in your podspec. Note that usage of a `.swift-version` file is now deprecated.
    - NOTE  | xcodebuild:  note: Using new build system
    - NOTE  | xcodebuild:  note: Building targets in parallel
    - NOTE  | xcodebuild:  note: Using codesigning identity override: -
    - NOTE  | [iOS] xcodebuild:  note: Planning build
    - NOTE  | [iOS] xcodebuild:  note: Constructing build description
    - NOTE  | [iOS] xcodebuild:  warning: Capabilities for Signing & Capabilities may not function correctly because its entitlements use a placeholder team ID. To resolve this, select a development team in the App editor. (in target 'App' from project 'App')
    - NOTE  | [iOS] xcodebuild:  warning: Skipping code signing because the target does not have an Info.plist file and one is not being generated automatically. (in target 'App' from project 'App')

[!] YCT did not pass validation, due to 2 warnings (but you can use `--allow-warnings` to ignore them).
You can use the `--no-clean` option to inspect any issue.
[!] YC did not pass validation, due to 1 error and 2 warnings.
You can use the `--no-clean` option to inspect any issue.
에러 발생 시 아래 더보기를 참고해주세요.
Xcode > Preferences > Locations
경로로 이동 후 Command Line Tools에서 항목 선택 후 pod lib lint 실행
5. tag version 생성하기
git tag 0.1.0
git push origin 0.1.0

6. Pod에 등록
pod trunk register your@email.com 'your name' --description='your description'
이 과정은 기기당 최초 1회만 진행하면 됩니다.
입력한 이메일로 Verification 메일이 전송됩니다.
인증을 완료했다면 아래 명령어로 등록된 것을 확인합니다.
pod trunk me
  - Name:     YuchanSong
  - Email:    uchanism24@naver.com
  - Since:    June 28th, 15:17
  - Pods:
    - YCLib
7. Pod에 배포
pod trunk push --allow-warnings
[!] Found podspec `YCTest.podspec`
Updating spec repo `trunk`

CocoaPods 1.10.1 is available.
To update use: `gem install cocoapods`

For more information, see https://blog.cocoapods.org and the CHANGELOG for this version at https://github.com/CocoaPods/CocoaPods/releases/tag/1.10.1

Validating podspec
 -> YCTest (0.1.0)
    - WARN  | summary: The summary is not meaningful.
    - WARN  | [iOS] swift: The validator used Swift `4.0` by default because no Swift version was specified. To specify a Swift version during validation, add the `swift_versions` attribute in your podspec. Note that usage of a `.swift-version` file is now deprecated.
    - NOTE  | xcodebuild:  note: Using new build system
    - NOTE  | xcodebuild:  note: Building targets in parallel
    - NOTE  | xcodebuild:  note: Using codesigning identity override: -
    - NOTE  | [iOS] xcodebuild:  note: Planning build
    - NOTE  | [iOS] xcodebuild:  note: Constructing build description
    - NOTE  | [iOS] xcodebuild:  warning: Capabilities for Signing & Capabilities may not function correctly because its entitlements use a placeholder team ID. To resolve this, select a development team in the App editor. (in target 'App' from project 'App')
    - NOTE  | [iOS] xcodebuild:  warning: Skipping code signing because the target does not have an Info.plist file and one is not being generated automatically. (in target 'App' from project 'App')

Updating spec repo `trunk`

CocoaPods 1.10.1 is available.
To update use: `gem install cocoapods`

For more information, see https://blog.cocoapods.org and the CHANGELOG for this version at https://github.com/CocoaPods/CocoaPods/releases/tag/1.10.1


--------------------------------------------------------------------------------
 🎉  Congrats

 🚀  YCT (0.1.0) successfully published
 📅  June 30th, 00:56
 🌎  https://cocoapods.org/pods/YCT
 👍  Tell your friends!
--------------------------------------------------------------------------------
배포가 완료되었습니다!
github repo에 pod 뱃지가 활성화되고, pod install을 통해 누구나 라이브러리를 사용할 수 있게 되었습니다.
정상 배포 후 pod install 안되는 경우 아래 내용 참조해주세요.
pod repo update
위 명령어 실행 후 pod install을 다시 진행해주세요.